
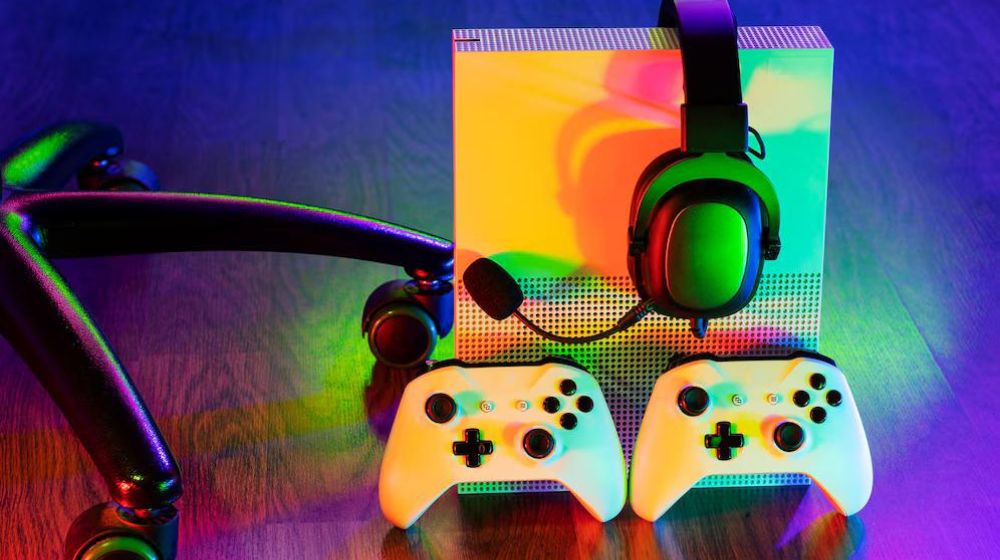
The HyperX Cloud 2 is a bestselling gaming microphone for budget-conscious gamers who do not want to sacrifice quality. Users can use this headset for longer because of its lightweight and comfy design. However, in spite of its extensive feature set, this headset has a number of drawbacks and problems that users have brought to light over time.
The detection issue is one specific problem that has caused problems for a number of individuals. When these individuals connect their headphones to their gadgets, the system does not respond. No matter how much time passes after the user connects the cables, the headset is not detected by the system. In this post, we will talk about different options that can be tried to fix this specific problem. Now let’s get started without further ado.
Try Another USB Port
If you are attempting to use only one USB for your headphones, you should consider switching the USB port on your gadget. You should try using all of the USB ports that you will have for connectivity to see whether one of them works for you. Don’t limit yourself to a single USB port.
If attempting different USB ports fails to solve your HyperX Cloud 2 Mic Not Working problem, continue on to the next method.

Update The Audio Drivers
If your computer’s audio drivers are outdated, it will have trouble identifying any audio devices. Therefore, your PC’s audio drivers need to be updated. You have two choices for doing that: manually or automatically.
In order to carry out the update automatically:
- To launch the Run dialog box, hit Windows + R.
- In the dialog box, type “devmgmt.msc” and click OK.
- It will launch the Device Manager window. When you double-click on Audio input and output, the whole list of linked audio devices will appear. Locate the one that is giving you problems, then right-click on it and choose “Update Driver.”
- After that, adhere to the on-screen directions to have the internet automatically look for the most recent drivers.
- It will install the most recent Bluetooth drivers on your PC automatically as soon as it detects an update.
Updating audio driver manually:
- To manually update the audio drivers, visit the website of the manufacturer of your system and search for the audio drivers for your model. Restart the computer after downloading and installing them straight into your device.
Make Use of the Sound Troubleshooter
Windows comes with a troubleshooter utility program that may look for known problems on the computer and attempt to resolve them for the user. The troubleshooter will at least alert the user of the issues with the Windows system if it is unable to resolve the issue. Therefore, you might utilize the audio troubleshooter to fix the HyperX Cloud 2’s detection issue.
- Press Windows Key + I, and then choose Update & Security from the list.
- Next, select the Troubleshooting tab from the window on the left.
- Select Additional troubleshooters.
- Select the “Sound” option from the menu that appears. You will then be able to start the sound troubleshooter. While doing this, make sure your headphones are connected.
- Allow the troubleshooter to perform the scan and attempt the solutions for any issues that arise.
Look for Any Potential Physical Damage
If none of the methods listed above worked for you, the problem could be due to actual damage to the device. Make sure there is nothing blocking the connection and that the cable is plugged in correctly. Along with using the right extension cable (splitter), you also need to make sure that your computer has different headphones and microphone connectors with the right input and output ports.

System Software Update
As a last resort, update your computer’s Windows to the most recent version. Windows periodically releases updates for its users, the majority of which address issues that are currently plaguing the system. Even with your HyperX Cloud 2 headphones, there can be a compatibility problem. Therefore, see if your computer has any new Windows updates, and if so, install them.
- Launch the Windows Settings by pressing the Windows Key + I keys.
- Select Update & Security.
- In the Windows Update, select “Check for updates.”
- Click Download and install any pending updates that appear on your screen
After the update has finished downloading, restart the computer to see if the headset problem has been fixed.
Conclusion
So these are all the ways available to resolve the HyperX Cloud 2 not detected or recognized problem. Please leave a comment below if you have any queries or concerns regarding this post, and we will respond.
Author Details:
This is Anil, I am a professional SEO Expert & Write for us technology blog and submit a guest post on different platforms- technootech provides a good opportunity for content writers to submit guest posts on our website. We frequently highlight and tend to showcase guests.

